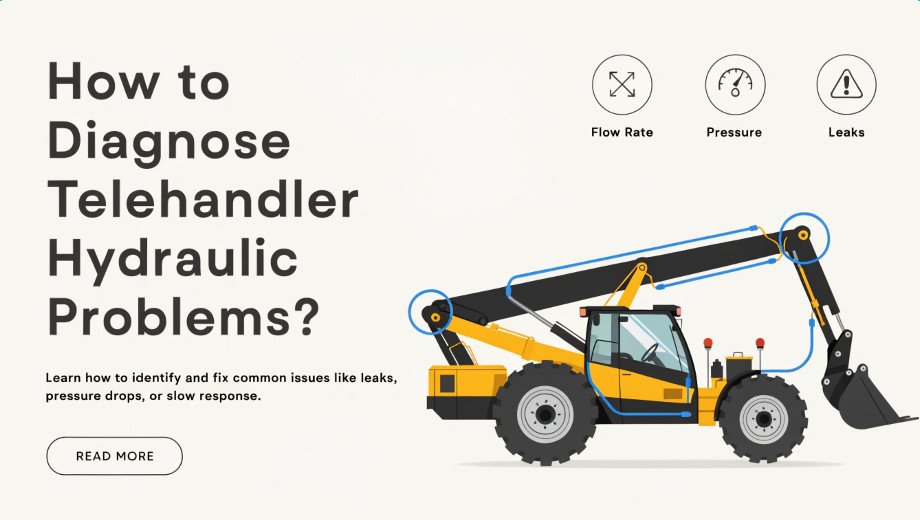
Your telehandler is acting up, and you suspect a hydraulic issue. Ignoring it leads to costly downtime and bigger repairs. Learn a simple diagnostic process to find the real problem fast.
Telehandler Hydraulic Problems Start by observing the symptoms like slowness, weakness, or strange noises. Then, check the hydraulic oil level and condition. A systematic check, starting with the basics, helps you accurately pinpoint the fault without guessing or replacing unnecessary parts.
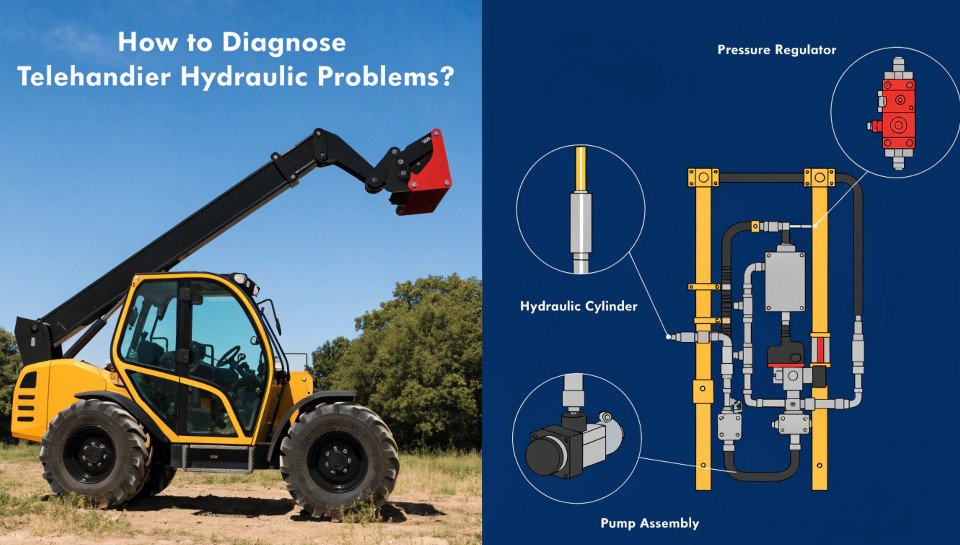
As a manufacturer with 15 years of experience exporting these powerful machines, I’ve seen just about every hydraulic issue you can imagine. The good news is that most problems aren’t as complex as they seem. The secret isn’t in having a magic touch; it’s about following a logical, step-by-step process. I’m going to walk you through the exact method our engineers use, a method that will save you time, money, and a lot of frustration. Let’s get your machine back to peak performance.
Why is a Systematic Approach to Hydraulic Troubleshooting So Important?
You replace a part you think is faulty, but the problem remains. Randomly swapping components wastes time, money, and energy. A logical, step-by-step process ensures you find the root cause correctly the first time.
A systematic approach prevents expensive guesswork. It follows a clear “symptom -> system check -> component test -> locate” path. This logic saves you from replacing a costly pump when the real issue might just be a clogged filter or a loose connection.
In all my years in this business, the biggest mistake I see people make is jumping to conclusions. They hear a noise and immediately assume the main hydraulic pump is shot. This is the most expensive guess you can make. A systematic approach forces you to be a detective, not just a parts-swapper. It’s about understanding the story the machine is telling you.
I remember a customer who was convinced his new telehandler had a faulty pump because the boom was weak. Before shipping a new one, we walked him through a systematic check. It turned out a pressure relief valve setting had been bumped during transport. A quick adjustment with a pressure gauge—a 15-minute job—saved him thousands of dollars and weeks of downtime. This is why we always start with the basics and work our way up.
Here is the simple four-step logic we always follow:
| Schritt | Aktion | Beschreibung |
|---|---|---|
| 1. Symptom | Observe and Document | What is the machine doing wrong? Is it slow, weak, noisy, jerky, or overheating? Be specific. Does it happen with all functions or just one? |
| 2. Classification | Isolate the System | Based on the symptom, which hydraulic circuit is likely affected? Is it the boom lift, the extension, steering, or the whole system? |
| 3. Test | Gather Data | Use diagnostic tools like pressure gauges and thermometers to get hard numbers. Check fluid levels and filter conditions. Compare readings to the manufacturer’s specs. |
| 4. Locate | Pinpoint the Component | With the data you’ve gathered, you can now confidently identify the specific component—be it a valve, seal, pump, or filter—that is causing the issue. |
This process turns a complex problem into a series of simple, manageable questions.
What Safety Precautions Must You Take Before Starting Any Telehandler Hydraulic Problem Diagnosis?
Hydraulic systems store immense energy under high pressure. A mistake can cause serious injury from high-pressure fluid injection or a falling load. Following a strict safety checklist is non-negotiable and keeps you protected.
Before any work, always lower and support the boom firmly on the ground. Turn off the engine and relieve all stored pressure by working the controls. Wear safety glasses and gloves. Never use your hand to check for leaks; use cardboard instead.
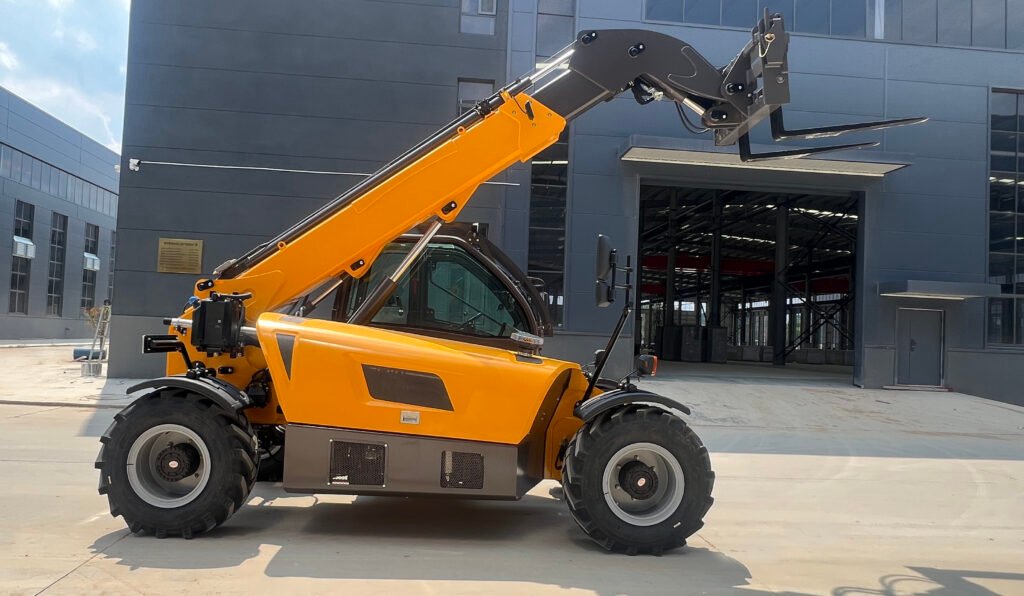
This is the most important section of this entire article. A telehandler is a powerful tool, and its hydraulic system operates at pressures often exceeding 250 bar (over 3,600 psi). You must respect that power. Never, ever become complacent. Before you even think about picking up a wrench, you must make the machine safe. The risk of a boom falling or a hose bursting is very real.
A high-pressure fluid leak can inject hydraulic oil deep into your skin, an injury that requires immediate emergency surgery and can lead to amputation. It’s not worth the risk. I tell every technician and customer the same thing: your safety is more important than any repair. Take five extra minutes to secure the machine properly. It could be the most important five minutes of your day.
Follow this checklist every single time. No exceptions.
| Safety Step | Aktion | Why It’s Critical |
|---|---|---|
| Park on Level Ground | Find a flat, stable surface to park the machine. | Prevents the machine from rolling or tipping unexpectedly during your work. |
| Lower and Support Boom | Lower the boom completely so the attachment rests on the ground or on solid blocks. | Removes the gravitational load from the hydraulic cylinders, preventing a sudden drop. |
| Engage Parking Brake | Set the parking brake firmly. | Provides an additional layer of security against machine movement. |
| Turn Off Engine | Shut down the engine and remove the key. | Ensures no hydraulic functions can be activated accidentally while you are working. |
| Relieve System Pressure | With the engine off, move all hydraulic control levers back and forth several times. | This releases any trapped pressure in the lines and accumulators, making it safe to open the system. |
| Wear PPE | Put on safety glasses and heavy-duty, oil-resistant gloves. | Protects your eyes from fluid spray and your hands from cuts, burns, and minor fluid contact. |
| Use Cardboard for Leaks | To find a suspected leak, pass a piece of cardboard or wood over the area. Never use your hand. | A pinhole leak is almost invisible but can inject oil through your skin like a needle. |
Is Your Telehandler Slow or Weak in its Movements?
Your telehandler can’t lift what it used to, or the boom moves like it’s stuck in molasses. This loss of power slows down your entire workday and points to a problem with either flow or pressure.
Weak or slow movement is often caused by low hydraulic fluid, a clogged filter, a worn pump, or an incorrectly set pressure relief valve. Always start by checking the easiest and cheapest things first: the oil level and filter condition.
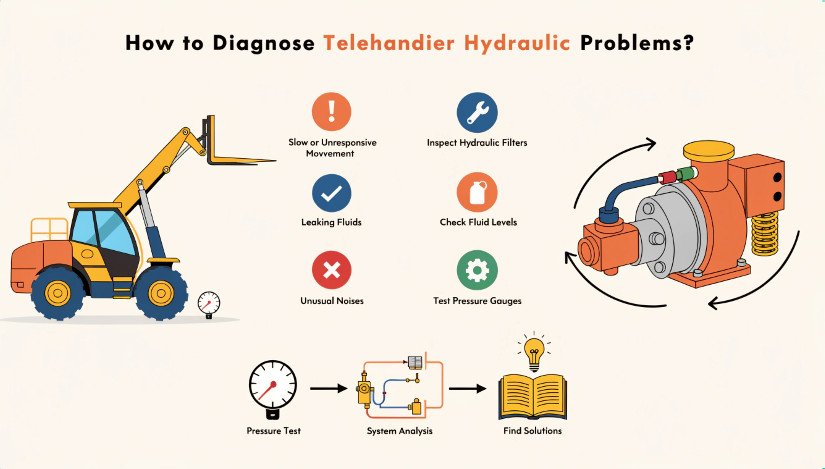
This is probably the most common complaint we hear. “My machine just doesn’t feel strong anymore.” When this happens, don’t panic. The cause is usually simpler than you think. The hydraulic system needs two things to be powerful: enough oil (flow) and enough force (pressure). A problem with either one will result in weak performance.
From my experience building thousands of these machines, the issue is rarely the main pump. More than half the time, it’s related to the oil itself or the filters that keep it clean. Before you call for a service technician, do these simple checks. It could save you a lot of money. Think of it like a person feeling weak; before you assume a serious illness, you first check if they are dehydrated or haven’t eaten. We apply the same logic to our machines.
Use this table to troubleshoot the problem logically:
| Potential Cause | How to Check | Lösung |
|---|---|---|
| 1. Low Hydraulic Oil Level | With the machine on level ground and boom down, check the dipstick or sight glass. | Top up with the manufacturer-recommended hydraulic fluid to the correct level. |
| 2. Clogged Hydraulic Filter | Check the filter restriction indicator (if equipped). If not, inspect and replace the filter as part of routine maintenance. | Replace the hydraulic oil filter. This is a cheap and effective first step. |
| 3. Wrong or Old Oil | Is the oil viscosity correct for your climate? Is the oil milky (water contamination) or dark and sludgy (old)? | Drain and replace the hydraulic fluid with the correct type. |
| 4. Faulty Pressure Relief Valve | Use a pressure gauge to test the system pressure at a specific port. Compare it to the service manual specifications. | If the pressure is too low, the valve may be stuck open, worn, or incorrectly set. Adjust or replace the valve. |
| 5. Worn Hydraulic Pump | If all the above are fine, the pump may be worn. It may be noisy and the case may be excessively hot. A flow meter test is the definitive check. | This is the last resort. A worn pump cannot create sufficient flow. It will need to be replaced. |
How Can You Identify the Cause of Unusual Hydraulic Noises?
Your machine is suddenly making a strange whining, grinding, or banging sound. These noises are not normal; they are direct warnings from your hydraulic system that something is wrong and needs immediate attention.
A high-pitched whine often signals pump cavitation, meaning air is getting into the system. A grinding noise suggests contamination from metal particles. A sharp banging could be trapped air or a valve closing too abruptly.

Your ears are one of the best diagnostic tools you have. A healthy hydraulic system is relatively quiet, with a consistent hum. When that sound changes, pay attention. Each type of noise tells a different story. I once got a call from a distributor in Europe about a brand-new machine that was making a terrible, high-pitched screeching noise. The operator was afraid to use it.
sound was a classic sign of pump cavitation. I asked them to do one simple check: inspect the main suction hose running from the hydraulic tank to the pump. Sure enough, the hose clamp wasn’t fully tightened from its long journey in the shipping container. It was sucking in a tiny amount of air, starving the pump. A simple turn of a screwdriver fixed the “catastrophic” problem instantly. Learning to listen can save you a world of trouble.
Here’s a guide to what those sounds might mean:
| Klang | Likely Cause | Explanation & Action |
|---|---|---|
| High-Pitched Whine | Cavitation (Air in Oil) | The pump is starved for oil and is pulling in air instead. This is very destructive. Action: Check oil level immediately. Inspect suction lines and hose clamps for leaks. Check the tank breather. |
| Loud Grinding or Rumbling | Aeration (Air Mixed in Oil) | Different from cavitation, this is when air bubbles are churned into the oil. The oil may look foamy. Action: Find the source of the air leak, often a bad shaft seal on the pump or a loose fitting. |
| Knocking or Banging | Trapped Air or Pressure Spikes | A large pocket of air passing through the system can cause a bang. It can also be a valve closing too quickly, causing a pressure shockwave (water hammer). Action: Bleed the air from the system. Check valve operation. |
| Squealing When Operating a Function | Sticking or Faulty Valve | A relief valve that is chattering or a directional valve that isn’t opening smoothly can create a squeal under pressure. Action: Test the pressures for the specific circuit. Inspect the suspected valve. |
| Low, Continuous Grinding | Mechanical Contamination | This is a very bad sign. It often means metal particles from a failing component (like a pump or motor) are circulating through the system. Action: Stop the machine. Drain a sample of oil and inspect for metal flakes. The failing component must be found and replaced, and the system must be flushed thoroughly. |
What Does High Hydraulic Oil Temperature Tell You?
You touch a hydraulic line and it feels excessively hot, or you get a high-temperature warning light. Hot oil is a clear sign of inefficiency; it means energy is being wasted as heat instead of performing useful work.
High hydraulic oil temperature is usually caused by the system working against itself. Common culprits include a low oil level, a clogged oil cooler, a relief valve that is constantly open, or using the wrong type of oil.
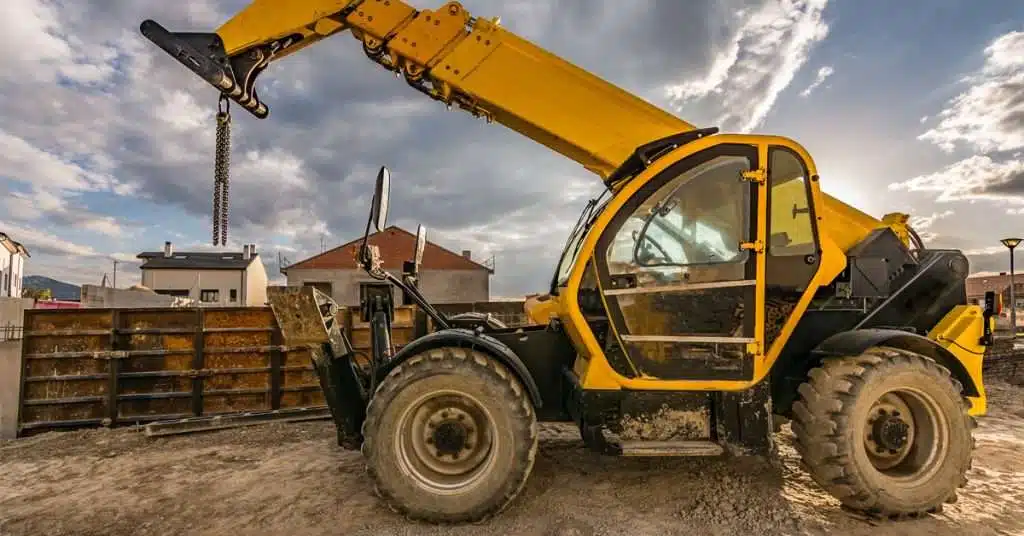
Here’s how to track down the source of the excess heat:
| Potential Cause | How to Identify | Lösung |
|---|---|---|
| 1. Clogged Oil Cooler | The fins of the radiator-like oil cooler are blocked with dirt, dust, or debris. Use an infrared thermometer; the inlet should be much hotter than the outlet. If not, it’s not cooling. | Safely clean the cooler fins with compressed air or a pressure washer (on a low setting). |
| 2. Low Oil Level | There isn’t enough oil in the tank to properly dissipate heat. | Check the oil level and top up to the correct mark. |
| 3. Continuous Relief Valve Operation | If a pressure relief valve is stuck partially open or set too low, oil is constantly flowing across it at high pressure, generating massive heat. You may hear a hissing sound. | Test the system pressure. If it’s low and the oil is hot, inspect and test the main relief valve. |
| 4. Incorrect Oil Viscosity | Oil that is too thick or too thin for the operating temperature will create more friction and heat. | Ensure you are using the oil viscosity recommended in the owner’s manual for your climate. |
| 5. Internal Component Leakage | A worn pump, motor, or cylinder can have significant internal leakage. This allows high-pressure oil to leak back to the low-pressure side without doing work, generating heat. | This is more complex to diagnose and often requires flow testing to isolate the worn component. |
How Do You Find and Fix Hydraulic Leaks Effectively?
You see a drip under your machine or notice the hydraulic oil level is consistently dropping. Leaks are not just messy; they are a waste of expensive oil, an environmental hazard, and a serious safety risk.
To find a leak, first clean the suspected area thoroughly. Then, run the machine and watch for fresh oil. Common leak points are hose fittings, cylinder seals, and valve O-rings. Remember to never use your hand to find leaks.
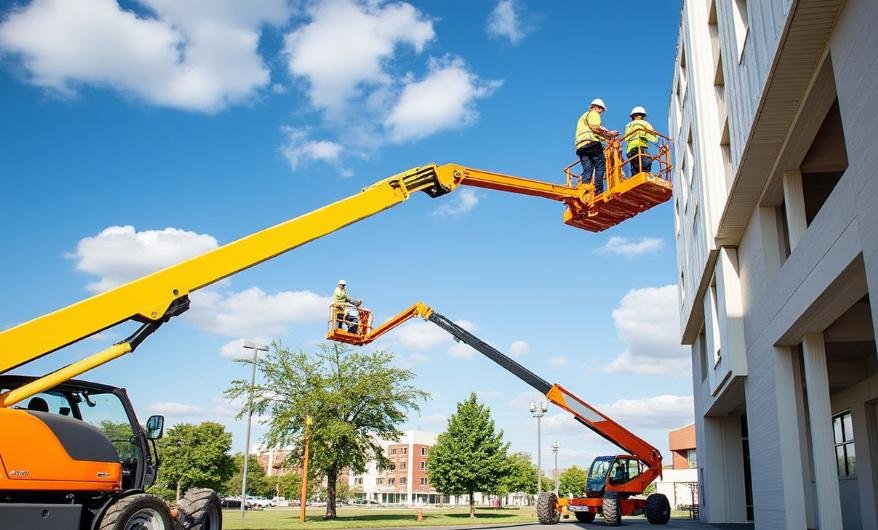
Leaks can be external (visible) or internal (hidden). Both cause problems.
Diagnosing External Leaks
These are the leaks you can see. They are messy but usually easier to find.
| Leckort | Likely Source | How to Fix |
|---|---|---|
| At a Hose End Fitting | The threaded fitting is loose or the O-ring/seal inside has failed. | Try tightening the fitting first (do not over-tighten). If it still leaks, replace the O-ring or seal. |
| Along a Hose Body | The hose is chafed, cracked, or has been damaged. Look for abrasion marks. | The hose must be replaced. Do not try to patch a high-pressure hydraulic hose. |
| At a Cylinder End or Rod | The cylinder rod seal or end cap seal has failed. | The cylinder will need to be disassembled and resealed with a new seal kit. |
| On a Valve Block or Pump | A seal between sections (an O-ring) has failed or a fitting is loose. | Identify the specific leaking seal by cleaning and observing. Replace the O-ring or tighten the fitting. |
Understanding Internal Leaks
These leaks are hidden inside components. You won’t see oil on the ground, but you’ll notice symptoms like a cylinder slowly drifting down under load or weak performance in one function. An internal leak is oil bypassing a seal inside a pump, motor, or cylinder. This causes heat and poor performance, and is often diagnosed with pressure and flow tests.
What are the Essential Tools for Hydraulic Diagnosis?
You want to diagnose a problem, but you feel like you need a fully equipped workshop. While advanced tools exist, you can diagnose most common hydraulic issues with just a few essential, affordable items.
The most crucial tools are a good set of pressure gauges with various fittings, an infrared thermometer, and basic hand tools. These allow you to measure the key vital signs of your hydraulic system: pressure and temperature.
Here are the must-have tools for any serious telehandler owner or operator:
| Tool | Zweck | How to Use It Effectively |
|---|---|---|
| Hydraulic Pressure Gauge Kit | To measure the system’s operating pressure, standby pressure, and relief valve settings. | Connect the gauge to the test ports specified in the service manual. A kit with multiple gauges (for high and low pressure) and various adapters is essential to fit different machines. |
| Infrared (IR) Thermometer | To safely measure the temperature of components like the oil tank, cooler, pump, and valves from a distance. | Point and shoot. Look for temperature differences. Is the oil cooler outlet significantly cooler than the inlet? Is one valve much hotter than the others? This points you to the problem area. |
| Basic Hand Tools | Wrenches, sockets, screwdrivers, and a torque wrench. | For tightening fittings, removing inspection covers, and replacing components like filters and hoses. A torque wrench is vital for tightening fittings to the correct specification to prevent leaks. |
| Clean Containers and Rags | For taking clean oil samples and for cleaning areas before inspection. | When diagnosing, cleanliness is key. Use clean containers to drain oil into so you can inspect it for water, debris, or metal particles. |
| Flow Meter (Advanced) | To measure the actual flow rate (LPM or GPM) from the pump. | This is a more advanced tool but is the only definitive way to confirm if a pump is worn out. It measures the pump’s actual output under load and compares it to its specification. |
How Can Regular Maintenance Prevent Most Hydraulic Issues?
You’re tired of dealing with unexpected breakdowns and costly repairs. The truth is, most hydraulic failures don’t just happen; they develop over time. A consistent maintenance schedule is the best way to prevent them.
Most hydraulic problems are preventable with simple, regular checks. Proactive maintenance, like daily fluid checks, regular filter changes, and keeping the oil clean and cool, is far cheaper than reactive repairs and downtime.
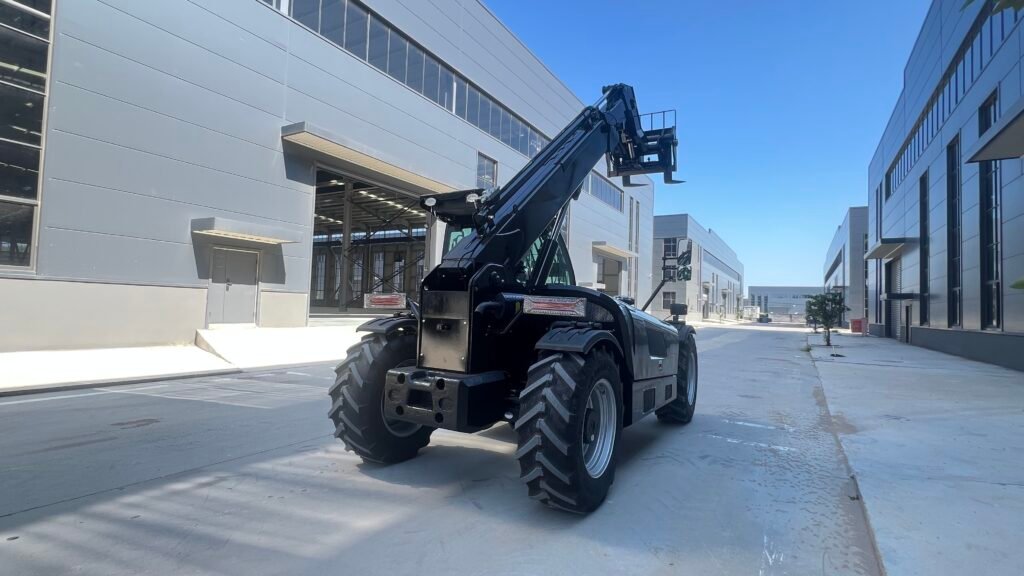
As a manufacturer, I can build the best telehandler in the world, but its long-term reliability depends heavily on its maintenance. An hour spent on maintenance can easily save you a week of downtime. It’s the most profitable hour you can spend on your machine. The hydraulic system is the lifeblood of your telehandler. Just like you need clean blood and a healthy heart, your machine needs clean oil and a healthy pump. Ignoring maintenance is like never changing the oil in your car; eventually, the engine will fail, and it will be catastrophic and expensive.
By following a simple routine, you can spot small issues like a dirty filter, a minor leak, or low fluid before they snowball into major component failures. This proactive approach is what separates owners who get 10,000+ hours from their machines from those who struggle with constant problems.
Here is a basic preventative maintenance schedule that will prevent the vast majority of hydraulic issues:
| Frequenz | Wartungsaufgabe | Warum ist es wichtig |
|---|---|---|
| Daily (or Before Each Use) | Visuelle Inspektion | Walk around the machine. Look for drips, wet spots, and damaged hoses. |
| Check Hydraulic Oil Level | Ensure the oil is at the correct level in the tank. Low oil is a top cause of pump damage and overheating. | |
| Wöchentlich | Clean Oil Cooler Fins | Use compressed air to blow out any dust, dirt, or debris blocking the cooler. This is critical for temperature control. |
| Every 250 Hours (or as per manual) | Check/Clean Tank Breather | A clogged breather can create a vacuum in the tank, starving the pump. |
| Every 500 Hours (or as per manual) | Replace Hydraulic Oil Filter(s) | This is the single most important maintenance task. Clean filters protect the entire system from damaging contaminants. |
| Every 1000-2000 Hours (or as per manual) | Hydrauliköl wechseln | Drains old, degraded oil and removes contaminants that filters can’t catch. |
| Take an Oil Sample | Send a sample for analysis. This can predict failures by detecting wear metals and contamination long before you notice a symptom. |
Abschluss
Diagnosing hydraulic problems is about being systematic and safe. By following these steps, you can find and fix issues efficiently, keeping your Teleskoplader running strong and productive.
Folgen Sie uns weiter:YouTube.